You need one of two things to begin: your LinkedIn profile, or an old resume as a PDF. Building is free; you log in first so the resume is saved to your account from the start. You pay only when you download the finished file, with a one-time pass, and nothing renews.
1. Bring in what you already have
Open Build my resume. Paste the text of your LinkedIn profile, or switch to Upload PDF and choose your current resume. Messy formatting is fine: the model reads the content, not the layout.
- Copying from LinkedIn: open your profile page, press Ctrl/⌘+A to select everything, Ctrl/⌘+C to copy, then paste into the box. Headers, menus and "See more" links come along; ignore them.
- PDF uploads must be text PDFs, up to 8 MB. A scanned image of a resume has no text to read, and you will get a message asking you to paste instead.
- Name this resume for a role is optional. It becomes the resume's name on your dashboard, useful when you keep one version per job. It does not change the content.
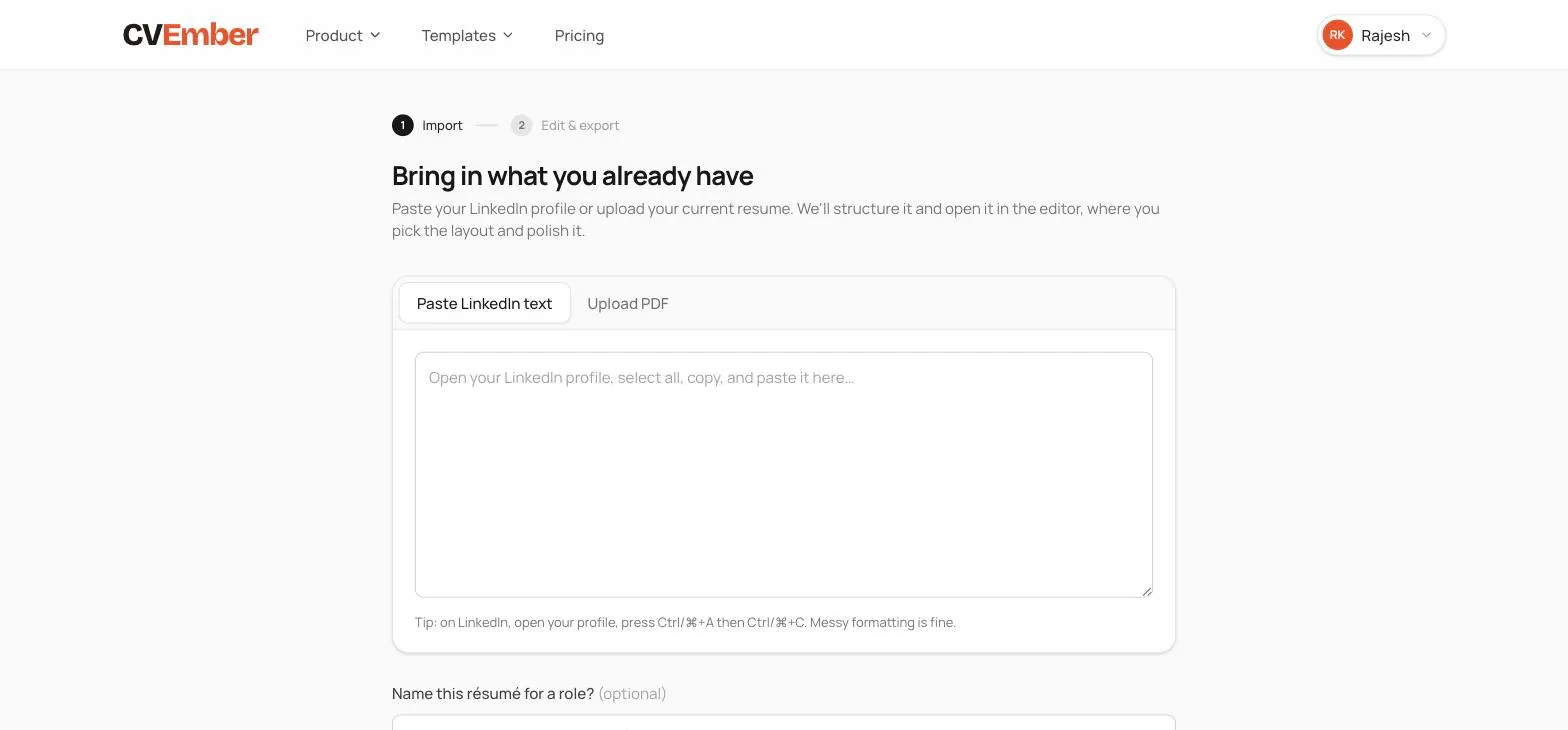
Press Build my resume. Generation usually takes about a minute for a full profile. A progress card shows what is happening (reading, finding roles and dates, writing bullets, laying out). Keep the tab open; the next screen opens by itself.
2. Your score comes first
The first thing you see is your resume on a real template, with its score beside it. The score is 24 rule-based checks in five groups: content, format and completeness, optimisation, best practices, application readiness. There is no black box: every lost point is one named check with a tip.
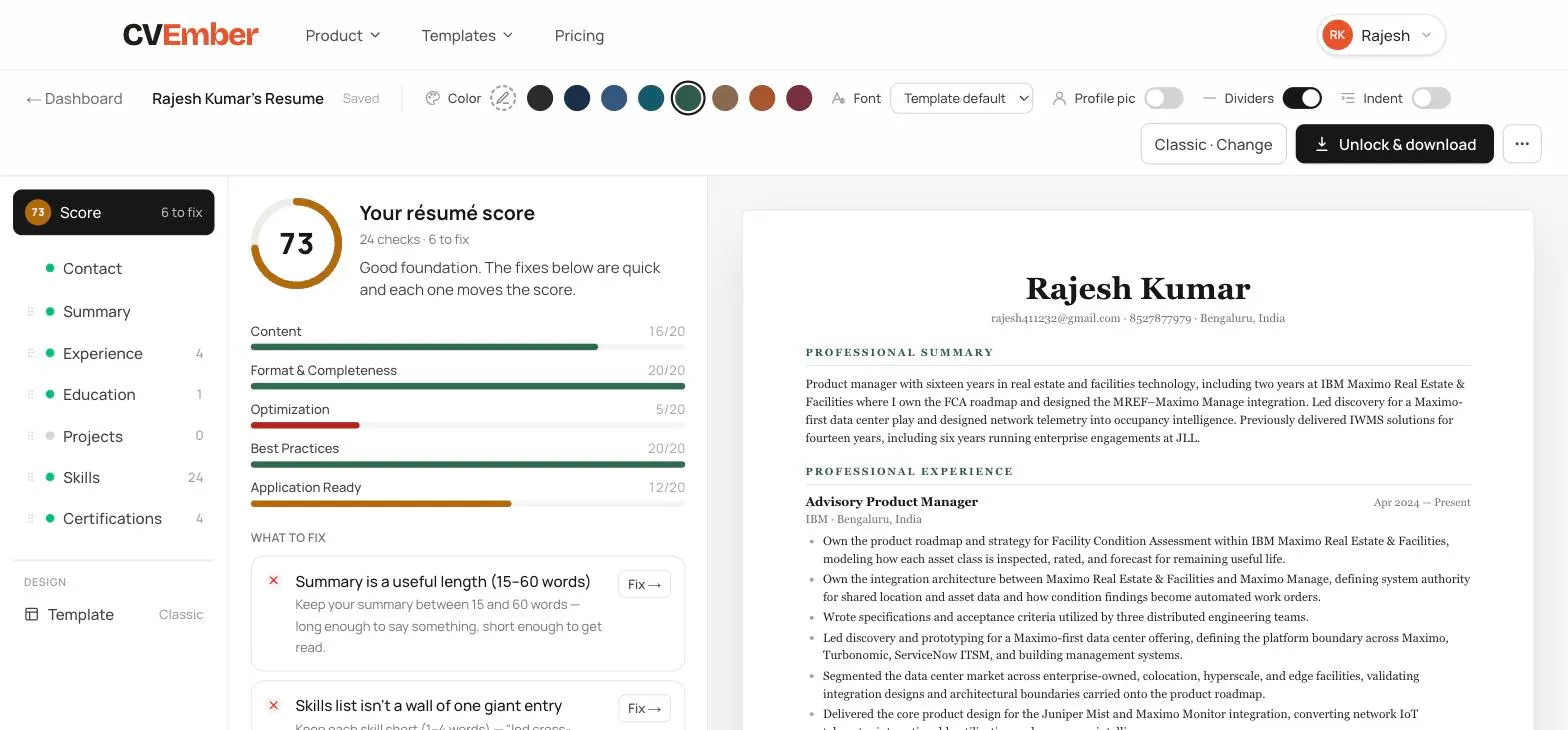
- Press Fix → on any item to jump to the fields it refers to.
- The Score row stays at the top of the left list, so you can come back to it at any time.
- A score in the 70s is a good foundation. Above 85 is ready to send.
3. Pick a layout
Open Template in the left list (under Design). The panel starts with Recommended for you, four layouts chosen from your own resume, with a one-line reason: a final-year student sees layouts that lead with education and projects, a director sees restrained ones that fit a long history. Every other layout follows below.
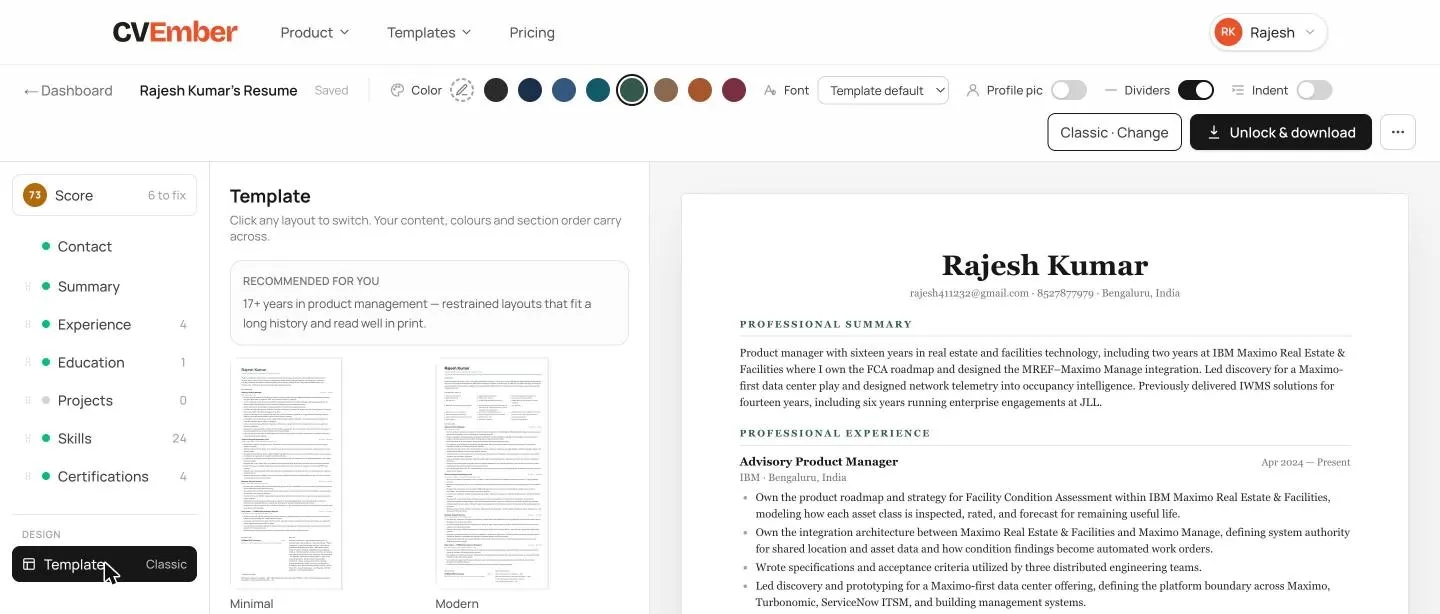
Switching is instant and safe: your content, colours, and any section order you set carry across. Switch as often as you like.
One-column layouts are marked “For online applications” and two-column ones “For email”. How we tested each layout with resume parsers is on our ATS testing methodology page.
4. Set the style once
The bar above the document applies to every template, and to the PDF you download.

- Colour: eight muted presets or your own hex value. The colour is used as a line and for headings, never as a block.
- Font: the template's own face, or Helvetica, Georgia, Merriweather, Source Sans, Lato, EB Garamond or Roboto Mono. The PDF embeds the same face.
- Profile pic: adds a headshot slot to any template. Upload the photo under Contact. Leave it off for most Indian corporate and government applications.
- Dividers and Indent: rules under section titles, and a small indent on section bodies.
5. Edit on the document
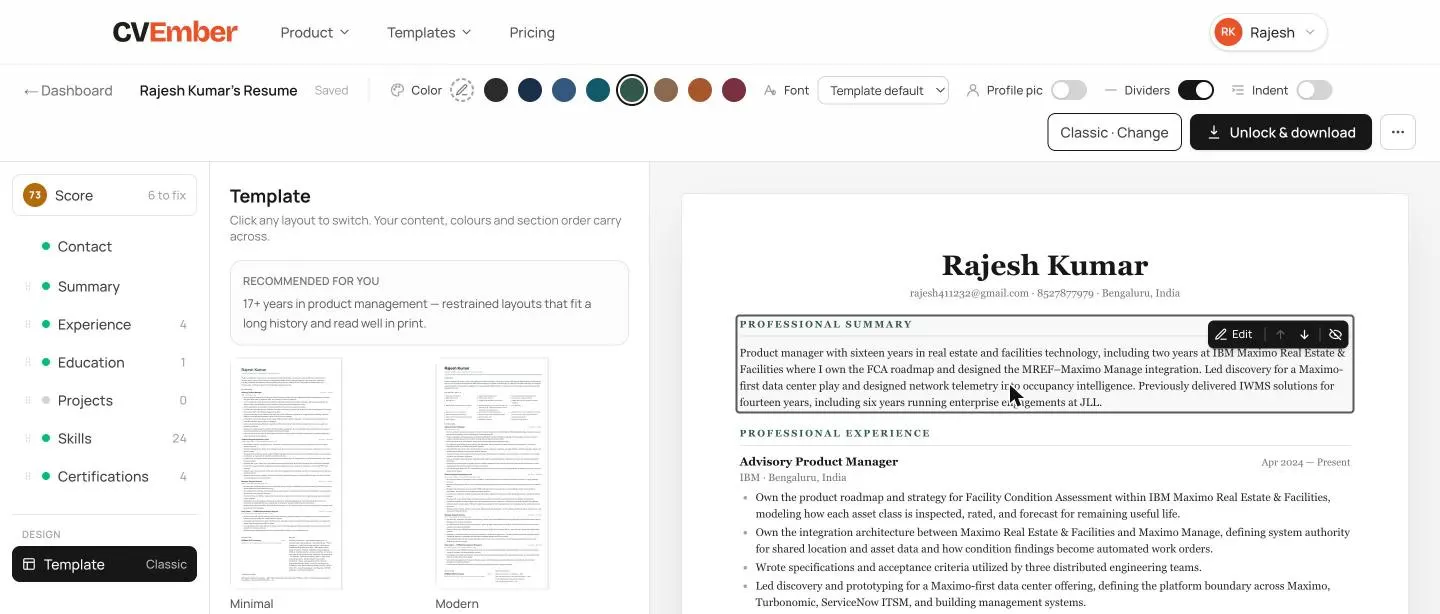
The document on the right is exactly what your PDF will look like. Hover any part of it and a toolbar appears on that section: Edit, move up, move down, move to the sidebar (on two-column layouts), and hide. Clicking the section opens its fields in the middle panel.
The middle panel is where the words are:
- Contact: name, email, phone, location, LinkedIn, website, and the photo upload.
- Summary: two to four sentences. Use Enhance with AI to tighten what you wrote; you approve the result before it lands.
- Experience, Education, Projects, Certifications: a list of entries. Click one to edit it, or add a new one at the bottom. Achievement bullets are one per line, and the suggested phrases below the box are a starting point when a bullet is blank.
- Skills: type one and press Enter. Aim for 8 to 15 short phrases; this is what keyword filters scan first.
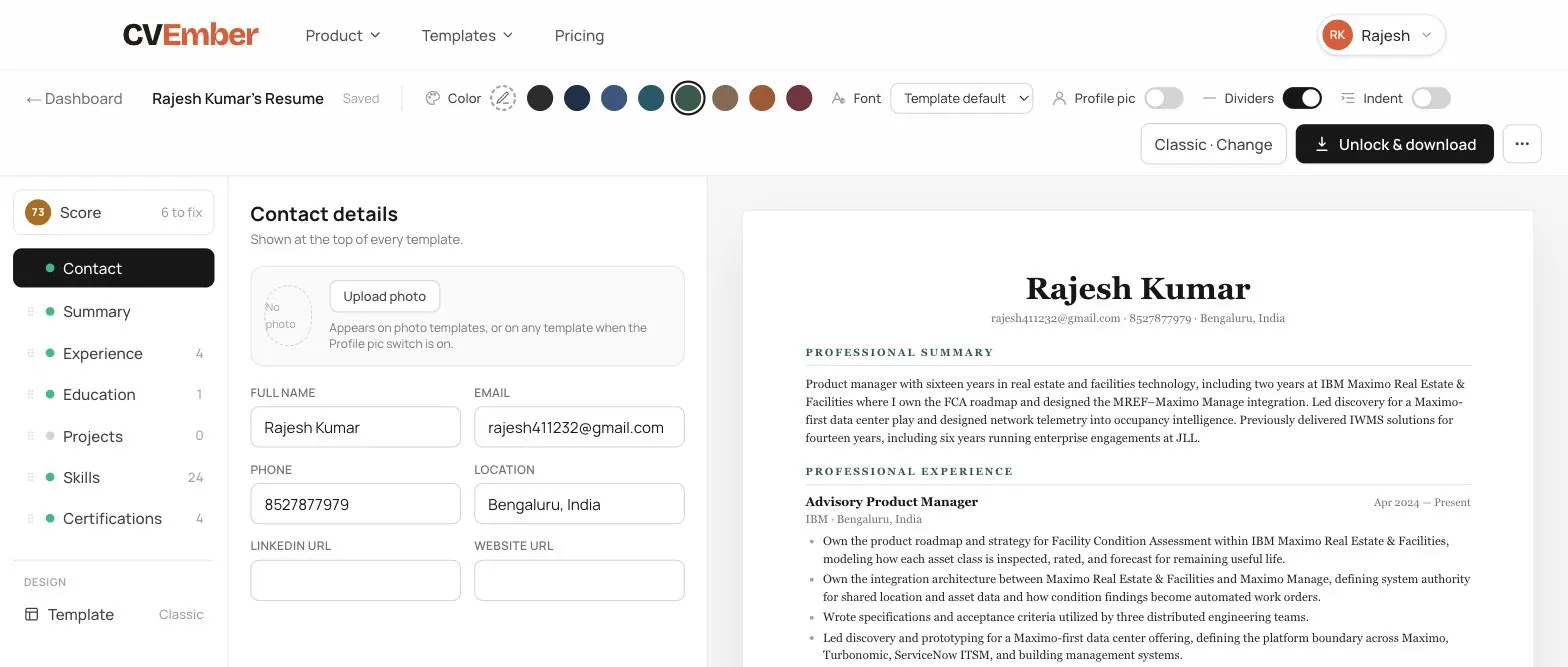
Everything saves by itself a moment after you stop typing. "Saved" appears next to the title.
6. Rearrange, rename, hide
A resume is personal. Someone with three projects and no certifications should not have the same shape as someone with the reverse. So every section can be moved, renamed or hidden.
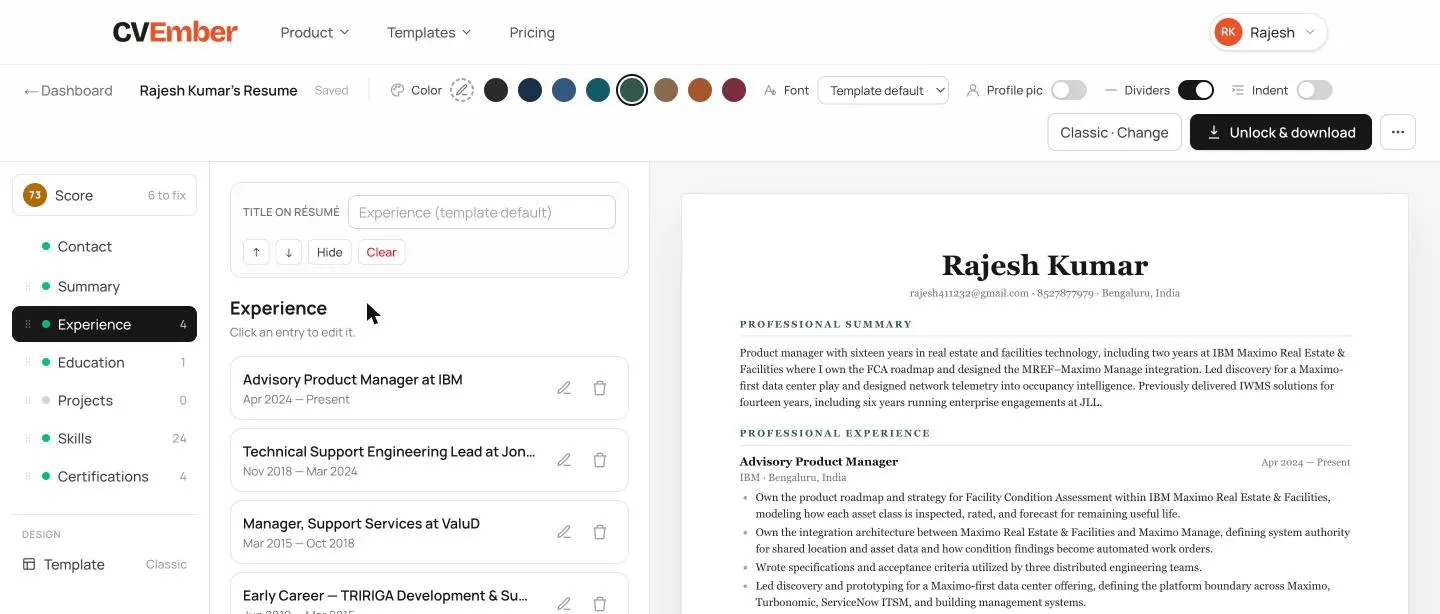
- Reorder: drag a section in the left list, or use the arrows. On two-column templates the list shows a Main column and a Sidebar; drag between them.
- Rename: the "Title on resume" field changes the printed heading, for example Projects to "Selected Work". Leave it empty to use the template's own wording.
- Hide takes a section off the page without deleting anything. Hidden sections wait at the bottom of the list. Clear deletes the content and asks first.
- Empty sections never print, so a resume with no certifications simply has no Certifications heading.
7. It saves itself
Signing in happens before the resume is built (email or Google), so there is no separate step to save your work — every edit is written to your account as you make it, and the dashboard lists everything you have started.
Why we ask before you build
So the resume is yours from the first second: reachable from another device, still there next week, and not tied to one browser tab. Signing in costs nothing and unlocks nothing — payment is a separate step, at download.
8. Download, print or email
Press Download. The checkout page shows a thumbnail of your resume and three passes, with Pro already selected:
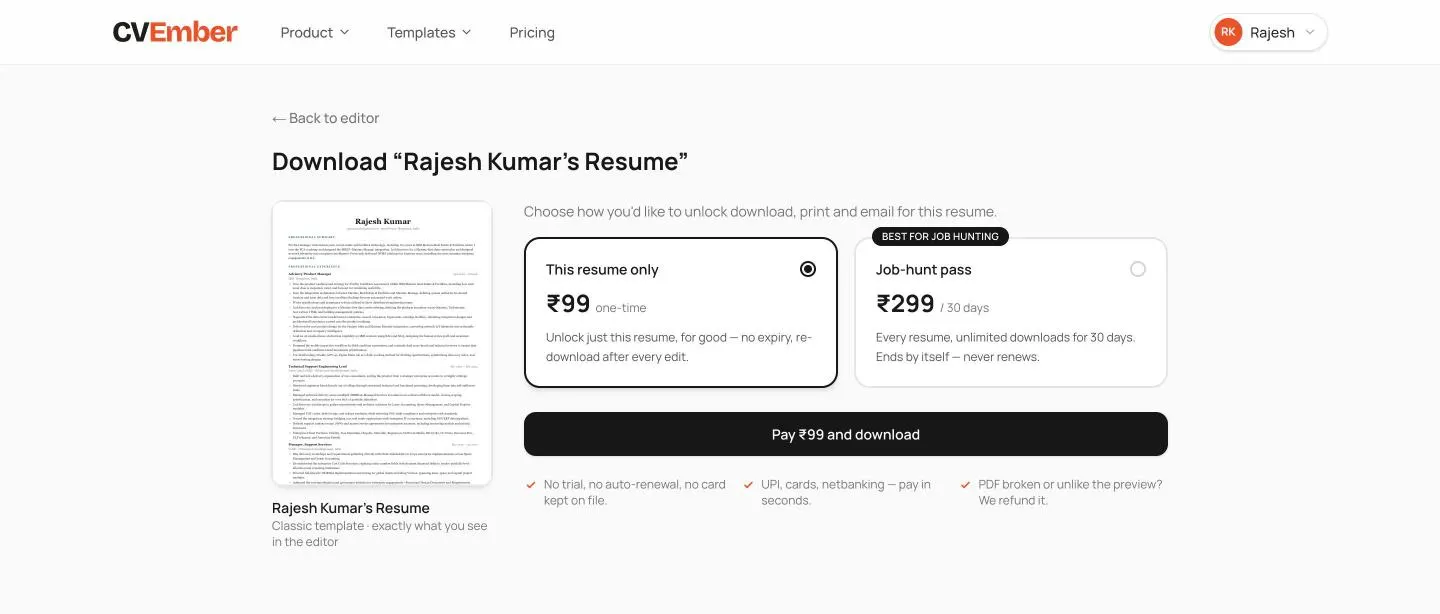
- Starter, 1 month (): every resume, unlimited downloads, for 30 days. It ends by itself and never renews.
- Pro, 3 months (): the same for 90 days, plus it works inside ChatGPT and Claude.
- Pro Lifetime (): everything in Pro, with no expiry.
In India, UPI, cards and netbanking all work; outside India you pay in US dollars with PayPal. No card is kept on file. It is a one-time payment with no auto-renewal, and if you haven't downloaded anything you get a full refund within 7 days. Once you have a pass, Download PDF is instant, and Print and Email to me sit under the "…" button beside it. If a downloaded file is corrupted or does not match what you saw in the editor, we refund it.
9. One version per role
Your dashboard lists every resume with its template, last edit, and whether it is still a preview or ready to download. Make a copy for each role you are applying to: import once more, name it for the role, and tailor the summary and skills. The tag under each card groups them.
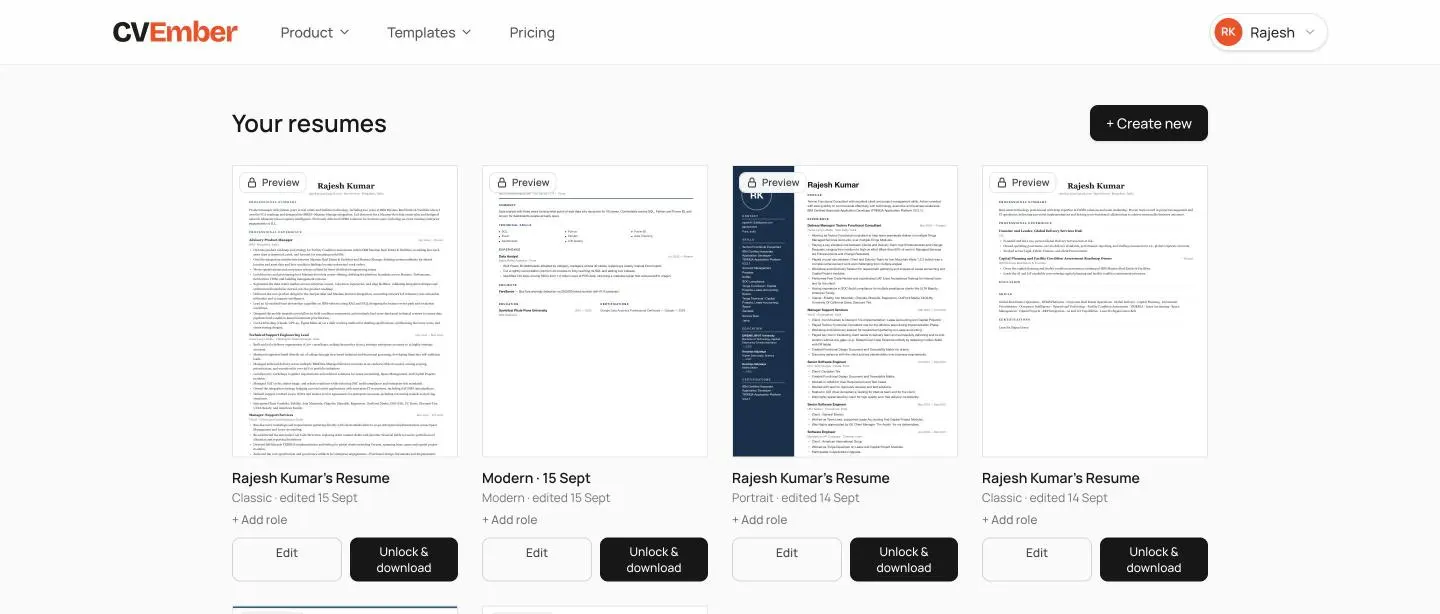
Below the list is your invite link. Anyone who signs up through it gets 7 days of free download access, and when they go on to buy download access, you get 30 days free.
10. Free tools
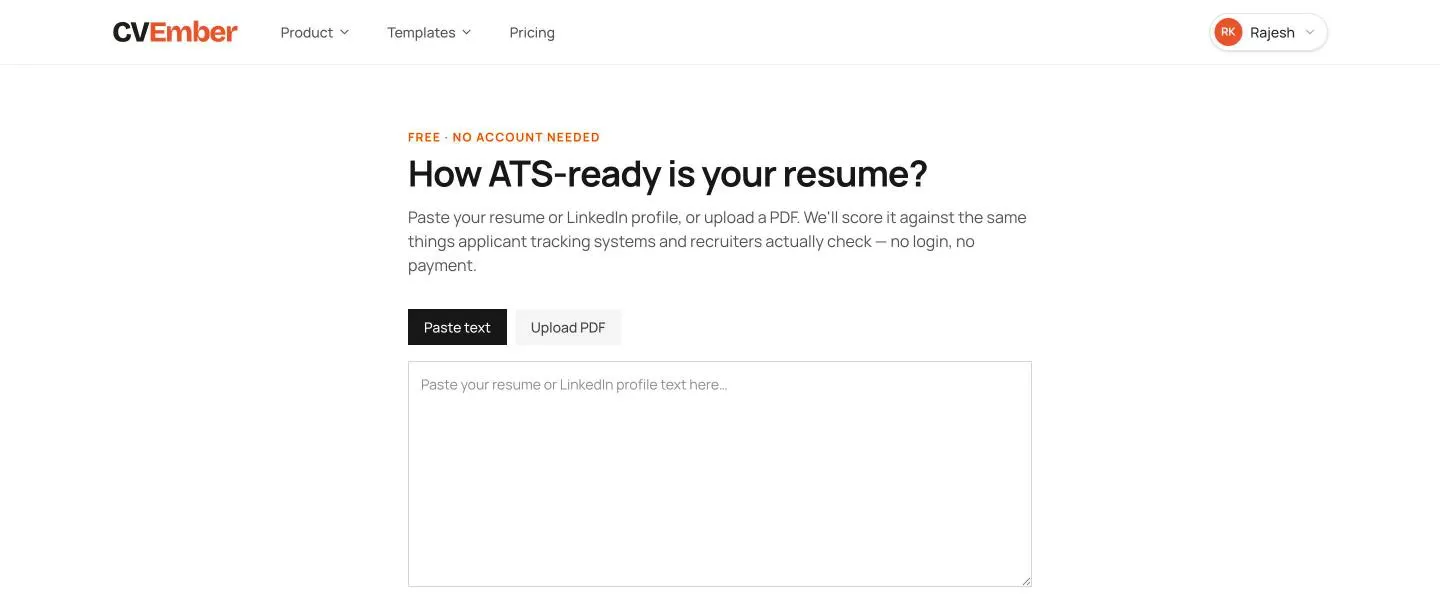
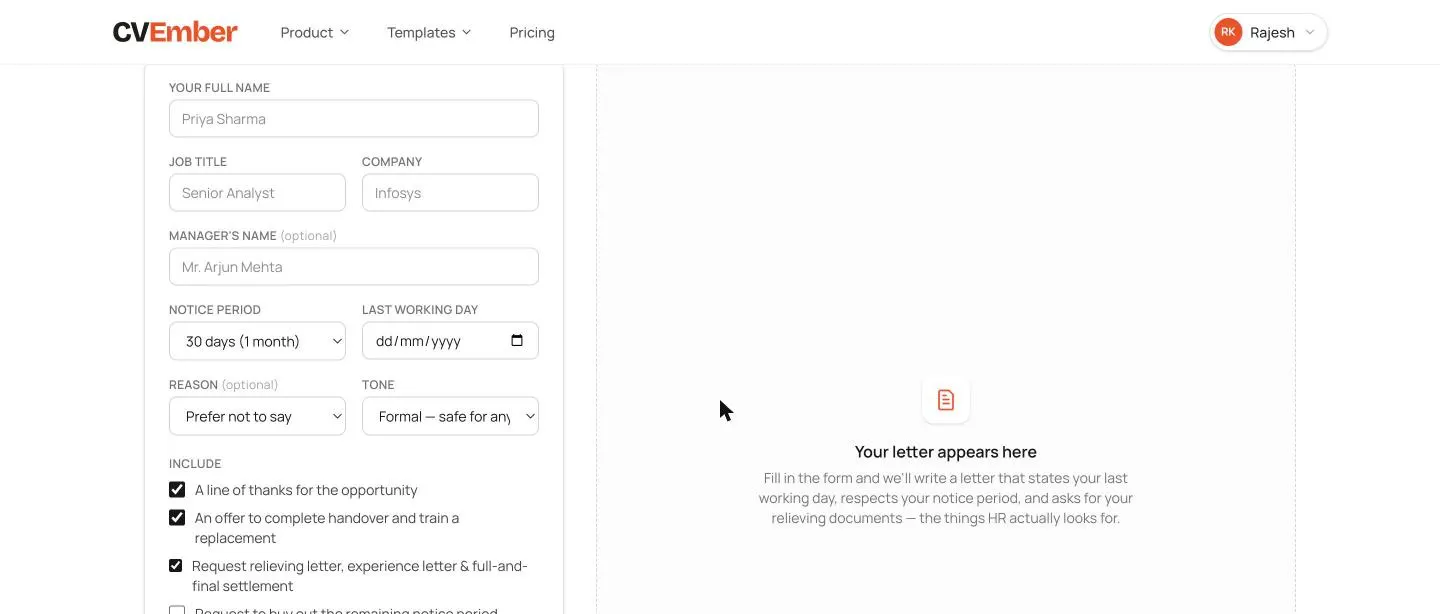
All four work with no account and no payment, from the Product menu: the Resume Checker, the Resignation Letter Generator, the Cover Letter Maker and the Relieving Letter Generator.
11. Common questions
Does download access renew?
No. One or three months of access ends by itself, and Lifetime never ends. There is nothing to cancel.
Can I re-download after editing?
Yes. While your download access lasts, edit and download again at no charge, as often as you like.
I closed the tab halfway through. Is my work gone?
No. Everything you build after signing in is saved to your account as you go — open the dashboard on any device and it is there. Only text you entered before signing in lives in the tab, so if you close that tab first you paste it again.
Will employers know I used AI?
The AI structures and tightens what you give it and, when you tailor to a job, suggests stronger wording for that job. Our AI never changes your employers, dates, degrees or certifications, and never invents facts outright. In Stretch, it may suggest bolder wording and bounded, clearly marked numbers, and nothing is added until you confirm it.The PDF contains only your resume.
Which template is safest for ATS?
All of them export real, selectable text. Hiring software reads one column most reliably, and every Simple and Modern design is one column. If you are unsure, start with Standard.
Ready to try it?
Paste your LinkedIn profile and get your resume in a real template in about a minute. Free to build — you only pay to download.
Build my resume